How big does a golf simulator room really need to be (without sacrificing comfort, acoustics, or clean finishes)?
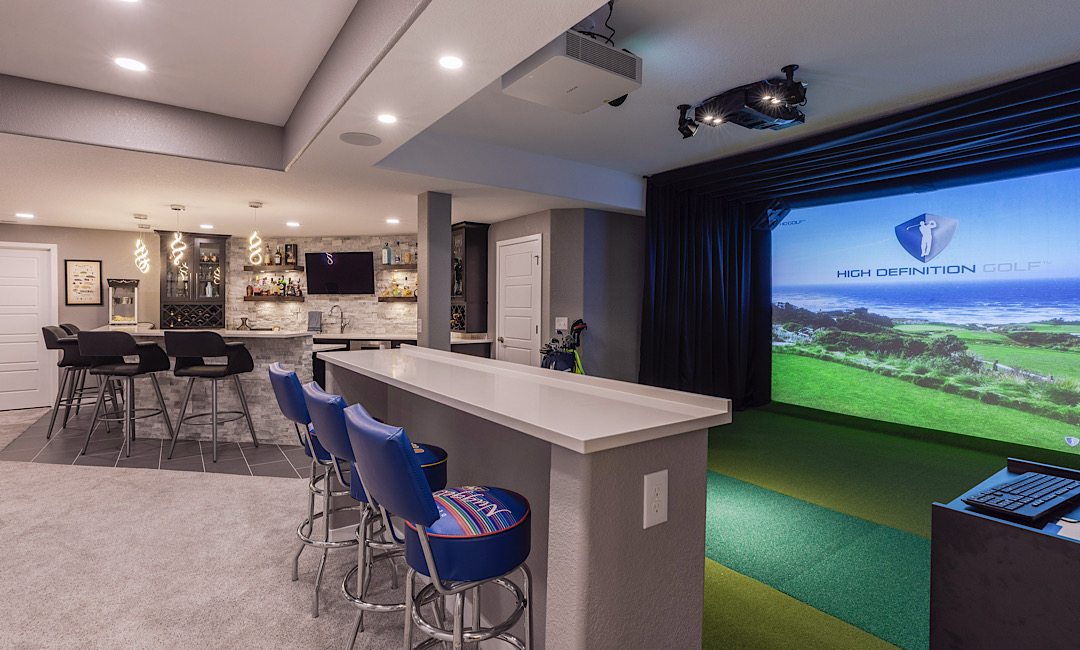
A basement golf simulator is one of the best “lifestyle-per-square-foot” upgrades you can make—especially for Colorado households that want a year-round wellness and entertainment zone. The catch is that simulator planning isn’t just about a launch monitor and a screen. Room width affects whether lefties can play, ceiling height affects confidence on driver swings, and depth affects everything from projector placement to seating behind the hitting area. This guide breaks down basement golf simulator room size in plain terms, plus the build details (power, ventilation, sound, and finishes) that make it feel like a true home amenity—not a temporary garage setup.
The “Big 3” dimensions: height, width, depth
Think of your simulator room as a safety envelope for a full-speed swing plus a controlled ball flight. While exact requirements vary by hardware and golfer, most successful basement builds start with these targets:
Ceiling height: Many premium setups recommend about 10 feet+ for comfortable driver swings and overhead components. (TrackMan, for example, lists recommended simulator room height at 10’+.)
Room width: 14–16 feet is a common comfort range, especially if you want both right- and left-handed players without feeling “pinched.”
Room depth: 18–22 feet is a practical planning range for many basement builds when you include screen/enclosure, hitting distance, sensor placement, and optional seating behind the golfer.
Hardware matters: ceiling-mounted camera systems can reduce depth needs compared to radar-based units that like more ball flight and clear space behind the hitting zone. If you already own equipment, build around its specs first—then add comfort and finish details.
Why “minimum size” and “great experience” are different goals
Homeowners often ask for the minimum basement golf simulator room size. It’s a fair question, but in real homes, the better question is: How do we prevent compromises that make the room less enjoyable?
Common experience-killers in basements:
• Low soffits or beams right over the hitting zone (your “10 feet” might only be 8’10” where it counts).
• Too-narrow width that forces an off-center hitting mat and makes left-handed play awkward.
• Shallow depth that crowds the projector, prevents a larger impact screen, or eliminates any seating behind the player.
• Hard finishes that create sharp echo and “crack” noise that travels through the house.
A well-finished simulator room feels like a purposeful part of the home—more like a theater or gym than a workshop. That comes down to planning the envelope and the build systems (sound, power, HVAC, and lighting) early.
A quick sizing cheat sheet (planning ranges)
Use this as an early “does my basement fit?” filter. Then measure to the lowest obstruction (pipes, ducts, beams) and map your hitting position.
| Room Goal | Ceiling Height (target) | Width (target) | Depth (target) | Best For |
|---|---|---|---|---|
| Compact | ~9’6″–10′ | ~12’–14′ | ~16’–18′ | One main golfer, tighter seating, careful equipment selection |
| Comfortable | 10’+ | 14’–16′ | 18’–22′ | Right/left flexibility, better acoustics options, more screen choices |
| Premium | 11’–12′ | 16’+ | 22’+ | Lounge seating behind, higher-end screens, elevated “clubhouse” feel |
Note: Some manufacturers publish recommended room dimensions and heights (for example, TrackMan lists recommended simulator room height of 10’+ and provides specific guidance by model). Use those specs as your anchor if you’ve chosen a system.
Did you know? Quick planning facts that save rework
Ceiling height is measured to the lowest point. A single duct run over the hitting zone can turn a “10-foot basement” into an 8’11” swing problem.
Depth needs change by technology. Many modern ceiling-mounted setups prioritize swing comfort, while radar-style units often benefit from more ball flight and clear space behind the golfer.
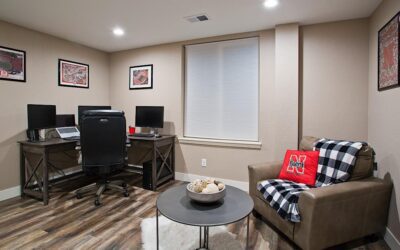
A simulator bay can double as a gym zone. If you plan flooring and wall protection right, the same room can serve workouts, mobility sessions, and family recreation without feeling cluttered.
Step-by-step: How to plan your basement golf simulator layout
1) Measure height in three places (not one)
Measure floor-to-lowest-obstruction at the screen wall, at the hitting position, and through your swing arc zone. If you have soffits, plan to keep the hitting mat away from them—or incorporate a design solution that relocates mechanical runs.
2) Decide who will play (right-handed only vs. right + left)
If left-handed friends or family are part of the plan, prioritize width and a hitting setup that accommodates both stances comfortably. This single decision often determines whether 12 feet feels workable or frustrating.
3) Pick your “screen size first” mindset
Bigger screens increase immersion, but they also affect ceiling clearance (enclosure height), projector throw distance, and lighting control. It’s usually easier to design framing and electrical around a known screen/enclosure plan than to retrofit later.
4) Build in acoustics from day one
Basements can echo. Add sound control in layers: insulation in the ceiling cavities, solid-core doors, and thoughtful wall/ceiling finishes. If your simulator sits under bedrooms or a living room, sound planning is as important as dimensions.
5) Plan power, data, and ventilation like a “real room”
A premium simulator room often needs dedicated outlets (projector, PC, monitor/TV, charging, speakers/sub), stable internet, and predictable temperature control. Basements are comfortable in Colorado, but equipment, people, and closed doors can warm the space faster than you expect—especially during longer sessions.
6) Choose basement-friendly flooring (performance + durability)
For finished basements, the most practical options are LVP, tile, carpet, and rubber gym flooring (especially in a simulator + fitness combo room). The right choice depends on whether the space leans “lounge,” “athletic,” or “multi-use,” and how you want it to sound when a ball strikes the screen.
Colorado basement considerations (Front Range reality check)
Along Colorado’s Front Range, basement finishing often intersects with practical build constraints that affect simulator planning:
Low mechanical runs: Many basements have duct trunks that dictate your best hitting zone. Planning soffits intentionally (instead of “boxing everything in”) can preserve needed height where you swing.
Dry air + static: In winter, dry conditions can increase static around synthetic turf and screens. Proper grounding and humidity balance can improve comfort.
Multi-use basements: Colorado homeowners often want the simulator to share space with a rec room, home gym, wet bar, or theater vibe. That’s where professional basement design helps everything coexist without crowding.
If you’re planning a full basement remodel (not just a sim bay), it’s smart to coordinate layout, electrical, HVAC, lighting scenes, and sound strategy at the same time. That’s how you avoid paying twice for drywall, wiring, and rework.
Helpful inspiration pages from ElkStone Basements:
Ready to plan a simulator-friendly basement that still feels like a finished home?
ElkStone Basements specializes exclusively in basement renovations—so your simulator room can be designed with the right ceiling strategy, clean electrical planning, sound control, and a layout that supports how your family actually uses the space.
If you already have rough dimensions, include: ceiling height to the lowest obstruction, room width, room depth, and whether you need right/left-handed play.
FAQ: Basement golf simulator room size
What’s the recommended ceiling height for a basement golf simulator?
Many homeowners aim for about 10 feet for comfortable driver swings. Some simulator manufacturers publish specific recommendations; TrackMan lists 10’+ as a recommended simulator room height.
How wide should a simulator room be to accommodate left- and right-handed golfers?
A planning range of 14–16 feet gives you more flexibility for both stances and a centered hitting area. Narrower rooms can work, but you’ll want to be deliberate about mat placement and wall protection.
How deep does a basement golf simulator room need to be?
Depth depends heavily on your launch monitor type and your desired experience (screen size, hitting distance, and seating). A common planning range is 18–22 feet, with more depth providing better comfort and layout options.
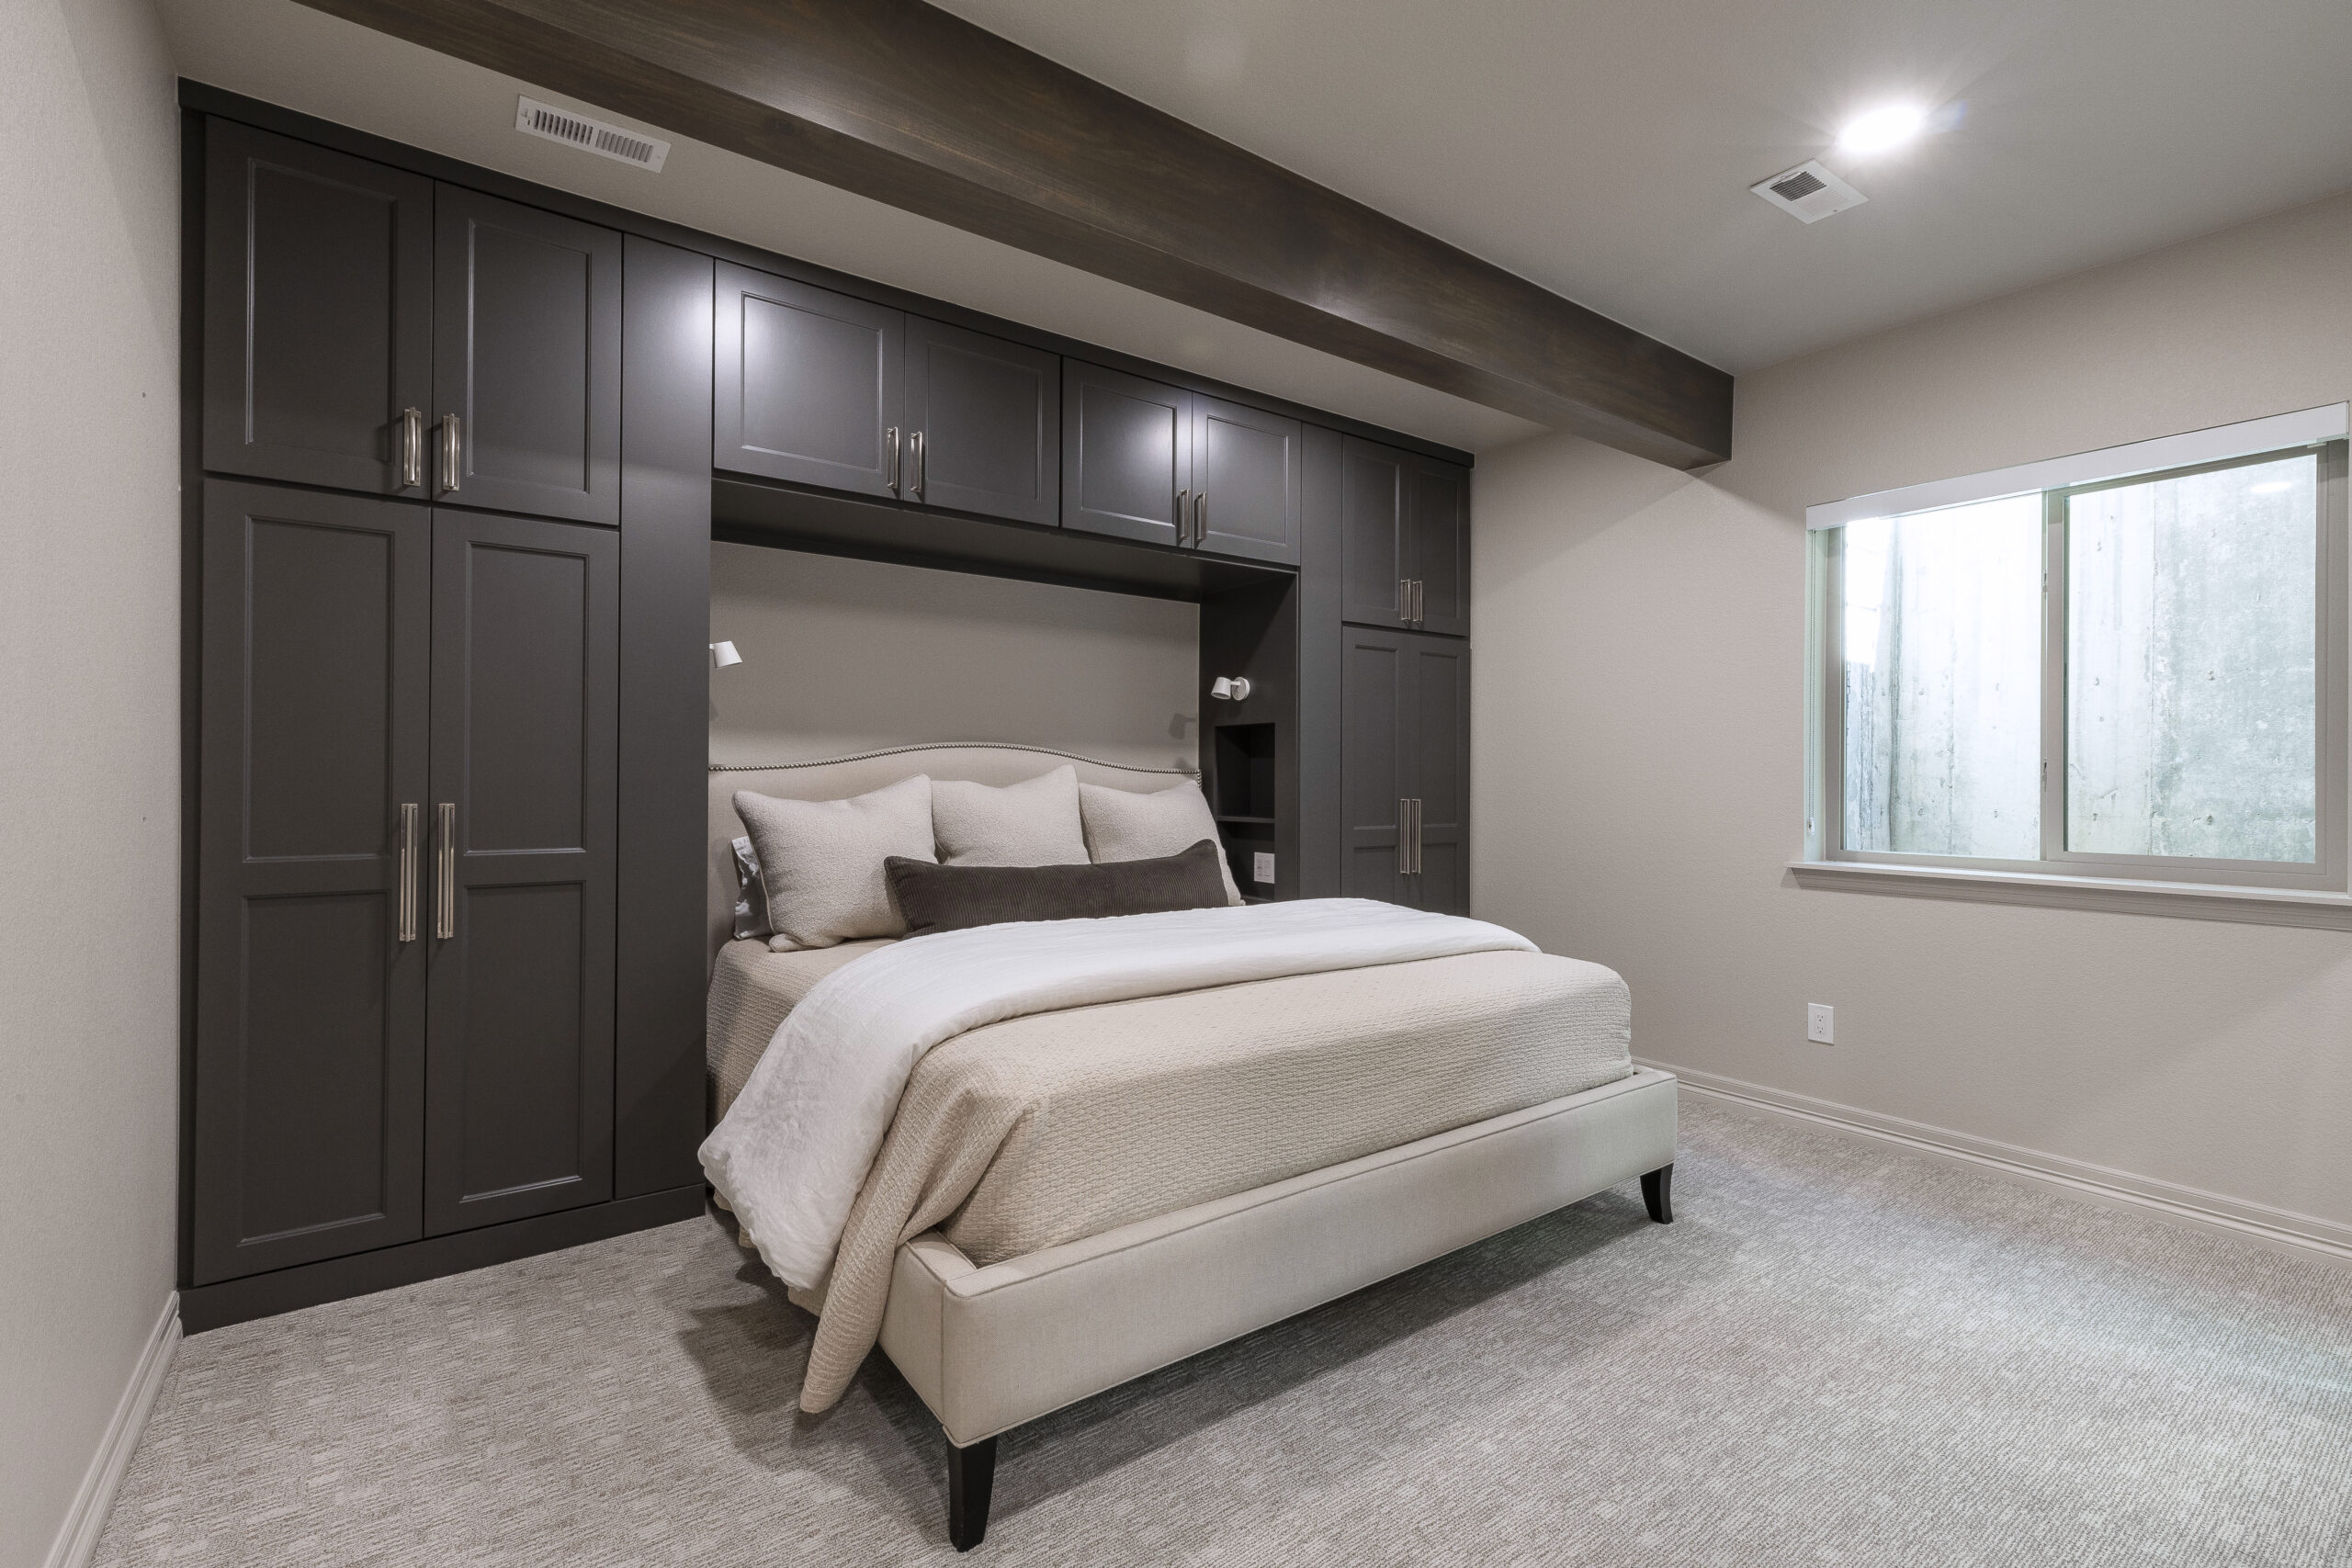
Can I build a golf simulator in a finished basement that also needs to look “nice”?
Yes—if you plan the simulator like a real finished room: clean soffit design, hidden wiring paths, layered lighting, durable basement-friendly flooring (LVP/tile/carpet/rubber), and sound control. The best results come from designing the simulator zone and the overall basement finish as one cohesive plan.
What’s the biggest mistake homeowners make with simulator rooms?
Planning only for the screen and launch monitor, then realizing late that ceiling obstructions, insufficient width for left-handed play, or echo/noise issues make the room less enjoyable. Early layout + systems planning prevents expensive rework.
Glossary (quick definitions)
Impact screen: A heavy-duty screen designed to safely stop golf balls while displaying the projected image.
Enclosure: The frame, padding, and side/ceiling netting surrounding the impact screen to protect walls and contain ricochets.
Launch monitor: The sensor system that measures club/ball data (some are radar-based, others are camera-based or ceiling-mounted).
Hitting zone: The area where your mat or hitting strip sits; this is where ceiling height and side clearance matter most.
Throw distance: The distance a projector needs to create a specific image size; it influences room depth and projector placement.
Soffit: A boxed-in area (often around ducts/pipes) that can reduce ceiling height—critical to plan around in basements.
Recent Comments